Three Cables, One Press: How a Triple Cable Clamp Speeds Up Installation
Three cables, one press, zero excuses. If your installation team is still securing three cables with three separate clips, a handful of ties or a screw-down metal clamp, you are paying for time your line does not need to spend. A one-press PA6 nylon triple cable clamp holds three cables in a single snap-fit part that you press closed by hand in a second — no tools, no torque specs, no loose ends. Each cable sits in its own channel, aligned and protected. This guide shows where that time goes and how to plan your next build around one press.
What Is a One-Press Triple Cable Clamp?
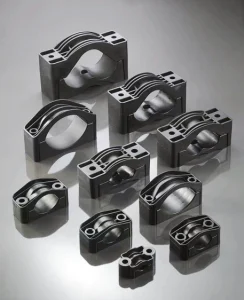
A one-press triple cable clamp, also called a 3-core or three-cable clamp, is a single snap-fit nylon fixing with three moulded channels. You mount the base to the panel, rail or structure, lay three cables into the channels and press the lid until it latches. One movement secures all three cables at the same spacing every time.
The clamp’s inside profile and PA6 material background are covered in our buyer’s guide to PA6 nylon 3-core clamps. This article covers the next step: how one-press fixing changes the speed and consistency of your installation work.
Where the Time Goes When You Fix Three Cables
On most builds the fixing hardware is cheap and the labour is not. The time on a three-cable route is spent picking parts, holding cables, reaching for a tool, driving fasteners, adjusting spacing and checking the result.
Three single clips repeat every one of those steps three times per fixing point. Ties look fast, but the installer still has to hold the bundle, tension each tie, trim the tail and pick up the offcut. Cable ties also creep loose with every temperature swing, so the time you saved on day one can come back as a callback. Screw-down metal saddles add a tool, a fastener and a judgement call about how tight is tight enough — and their sharp edges can slowly chew through insulation. Keep nylon cable ties for dressing control wiring and looms, where they do the job well.
The table below breaks one fixing point into its installation steps. The counts are per fixing point. On a three-cable route, that is why one clamp, one press gives you one-third of the assembly time.
| Installation step | Three single clips | One-press triple clamp |
|---|---|---|
| Parts picked | 3 clips, plus fasteners | 1 clamp |
| Closing actions | 3 | 1 press |
| Tool needed to close | Often a driver | None, closes by hand |
| Cable spacing | Set by the installer each time | Fixed by the moulded channels |
| Visual check | 3 parts to inspect | 1 latch to confirm |
| Rework on site | Unfasten up to 3 parts | Release 1 latch with a flat screwdriver |
Why “No Tools” Matters for Your Line
Removing the tool from the closing step does more than save a few seconds. Every tool change breaks the installer’s rhythm. Every torque setting needs training, calibration and someone to check it. On a rooftop, a ladder or the back of a crowded cabinet, a dropped screwdriver or bit costs far more than the clamp.
A hand-pressed latch gives your business three practical gains:
- Consistency: The clamping force is set by the moulded design, not by how hard each person tightens. A new starter produces the same result as your most experienced electrician.
- Easy inspection: A latch is either closed or open. Your quality team checks one thing per fixing point instead of judging tightness.
- Simpler work instructions: One step, one part number and no torque value make assembly sheets shorter and training faster.
The fixing point still has to be mounted once. The base is fixed to the structure, often during pre-assembly before any cable is pulled. The “one press” saving happens when cables go in, and that is the most labour-intensive part of the job.
How to Specify a Clamp That Closes in One Press
A one-press clamp only saves time if it fits your cables. Put these points on your specification.
Measure Each Cable’s Outer Diameter
A one-press clamp only saves time if the channels match each cable. Standard sizes cover cable ODs from 27 to 90 mm; measure each cable’s outer diameter, not a taped bundle — the buyer’s guide walks through that measurement. If the channels are too tight, installers have to force the lid. If they are too loose, the cables can slide, and the time you hoped to save comes back as rework.
Check the Latch and the Inside Profile
The lid should close with firm thumb pressure in a second and give a clear click or a visible flush line. Have your own installers close samples on your own cables, including at the end of a shift when hands are tired. Inside, the guide ridges should centre each cable and leave no sharp edge or moulding flash on the jacket. After a trial, open the clamp and inspect the insulation.
Match the Grade to the Environment
Impact-modified PA6 stays tough at low temperature, which matters if your teams install outdoors in winter or in cold plants. For rooftop arrays and solar racking, specify a UV-stabilised grade so the clamp resists years of direct sun. For machine builds, the same nylon shrugs off oils, greases and the solvents found on a factory floor. Flame-retardant grades are available where your panel specification calls for them.
Reopen, Reroute, Reclose
Real wiring jobs change. Cables get added during commissioning, rerouted after a design change or replaced in service. With ties, every change means cutting, discarding and re-tying. This snap-fit closure can be reopened with a flat screwdriver and reused, so your installation team releases the latch, moves the cable and presses the lid shut again.
That makes the clamp a better fit for prototype builds, retrofit work and field service. Replace any clamp that shows cracking or stress-whitening at the latch after repeated use.
Where One-Press Fixing Saves the Most Time
You will find these clamps doing quiet work everywhere three cables run together. The applications are different; the maths is the same: one clamp, one press, one-third of the assembly time.
- Distribution boards and switchgear: control and power wiring in series-built cabinets, where a few seconds per fixing point add up across a production batch.
- Solar racking and combiner boxes: PV string cables fixed outdoors, on rails and at height, where working without tools is safer and faster, and a UV-stabilised grade is the right choice.
- Machine builds and automation lines: sensor and actuator looms that change during commissioning and benefit from a reopenable closure.
- Building installations: flat three-core supply cables where fixed spacing speeds up first-fix work.
Plan Faster Builds With the Right Clamp
Tell us your cable diameters, application and annual volume, and get a quote with samples.
Clamps, Insulators and Terminals From One Source
Faster installation also depends on having every fixed part on the bench when the build starts. In a panel, insulators hold the conductors and clamps hold the cables.
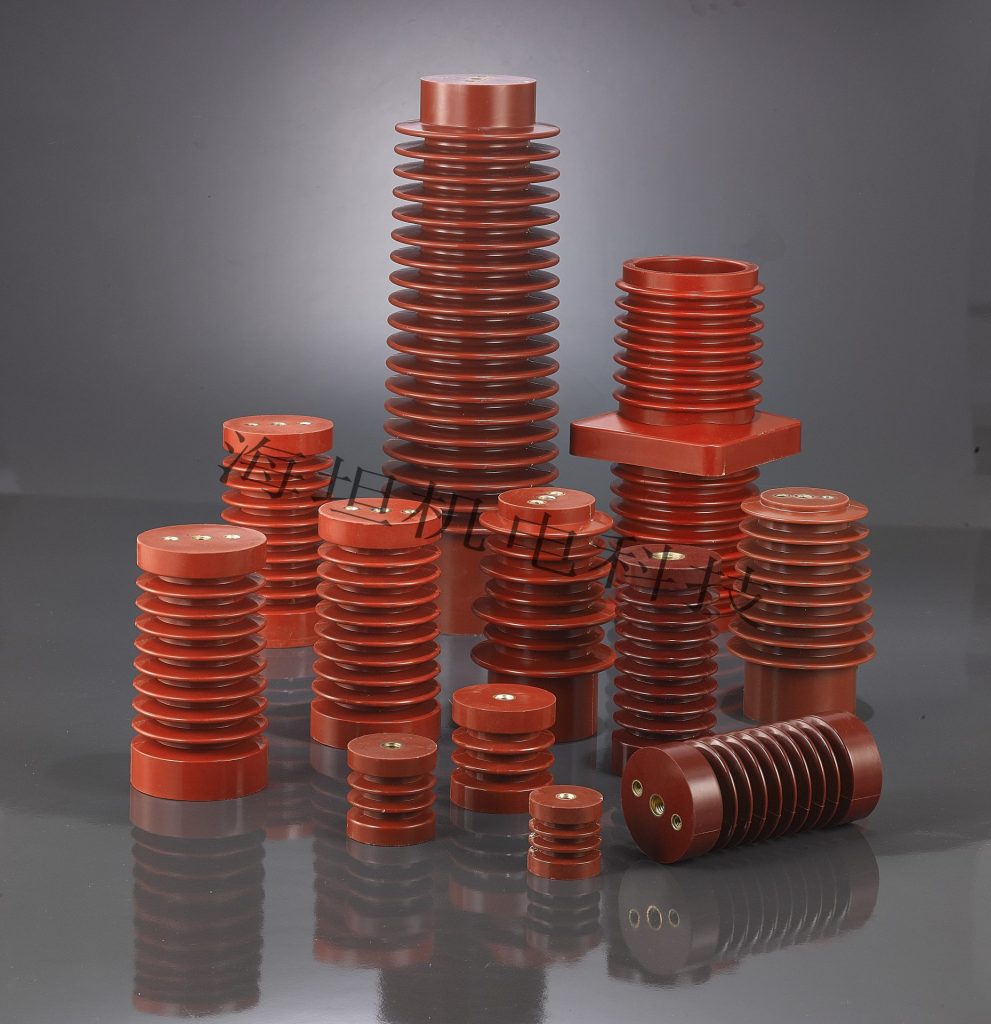
The same Haitan factory that moulds this triple cable clamp also makes BMC busbar support insulators and energy storage terminals. That means the fixed parts inside your cabinet — insulators, clamps and terminals — can come from one source, on one audit, one shipment and one invoice. You can review the low-voltage insulator range when you plan a cabinet order.
If your team also selects the conductor supports, the complete guide to busbar insulators explains the types and materials.
Clamps are moulded in Haitan’s own tooling shop, so custom diameters, colours and private-label packaging move quickly. Standard sizes cover cable ODs from 27 to 90 mm. Every batch is inspected before shipment, and material certification and dimensional reports are available on request. Samples are ready in 3 working days, and the sample cost is credited to your first order.
One Order for Clamps, Insulators and Terminals
Browse the product centre and combine cable clamps with the other fixed parts your cabinet needs, on one shipment and one invoice.
FAQ
Do I need any tools to install this triple cable clamp?
Not to close it. The snap-fit lid is pressed closed by hand in a second, with no tools and no torque setting. You need a tool only to mount the base, which is usually done once during pre-assembly, and a flat screwdriver if you reopen the clamp later.
How much labour does a one-press clamp save?
On a three-cable route, one clamp and one press replace three clips and three closing actions, which is one-third of the assembly time at each fixing point. The exact minutes saved depend on your layout and batch size, so time a short run on your own line if you need a figure for a business case.
Can the clamp be reopened and reused?
Yes. The closure can be reopened with a flat screwdriver and reused when cables are added, rerouted or replaced. Replace any clamp that shows cracking or whitening at the latch after repeated use.
What size range is available, and how should I measure?
Standard sizes cover cable outer diameters from 27 to 90 mm. Measure each cable’s outer diameter with a calliper, not the three cables taped together as a bundle, and match it to the clamp’s channel range. Custom diameters are also available from the same tooling shop.
Three Cables, One Press, Every Time
Every fixing point your team closes is either quick and repeatable or slow and variable. A one-press PA6 nylon triple cable clamp makes it quick and repeatable: one snap-fit part, one hand press, three cables aligned, and no tool to pick up. Specify it by each cable’s outer diameter in the 27 to 90 mm range, confirm the UV or flame-retardant grade you need, and send those diameters today. Samples are ready in 3 working days, with the sample cost credited to your first order.
Related Resources
Read next on the Haitan blog:
- Busbar Insulator and Busbar Clamp in Power Distribution Cabinets: The Ultimate Guide
- Material and Design Differences in Low-Voltage Wire Holders
- Cable Organization Solutions Using Wire Holders in Electrical Installations
- - 終わり - -
 電子メール:
 東風市霊雲路20号


© Copyright 2024 China Haitan Electromechanical Technology Co., Ltd. 全著作権所有。サポート:JUNJ プライバシーポリシー
 Japanese
 English (United States)
 English (South Africa)
 Arabic
 Belarusian
 Bengali
 Kazakh
 Korean
 Myanmar
 Russian
 Thai
 Ukrainian
 Uzbek
 Vietnamese
 Chinese