
Installation Guide for Hexagon Busbar Support Insulators in Electrical Panels
บล็อก | ห้องข่าว | มี.ค. 12,2026
การแนะนำ
In electrical panels and low-voltage distribution systems, busbars are responsible for carrying and distributing electrical power between different circuits. To ensure safe operation, these conductive components must be securely mounted and properly insulated from the panel structure.
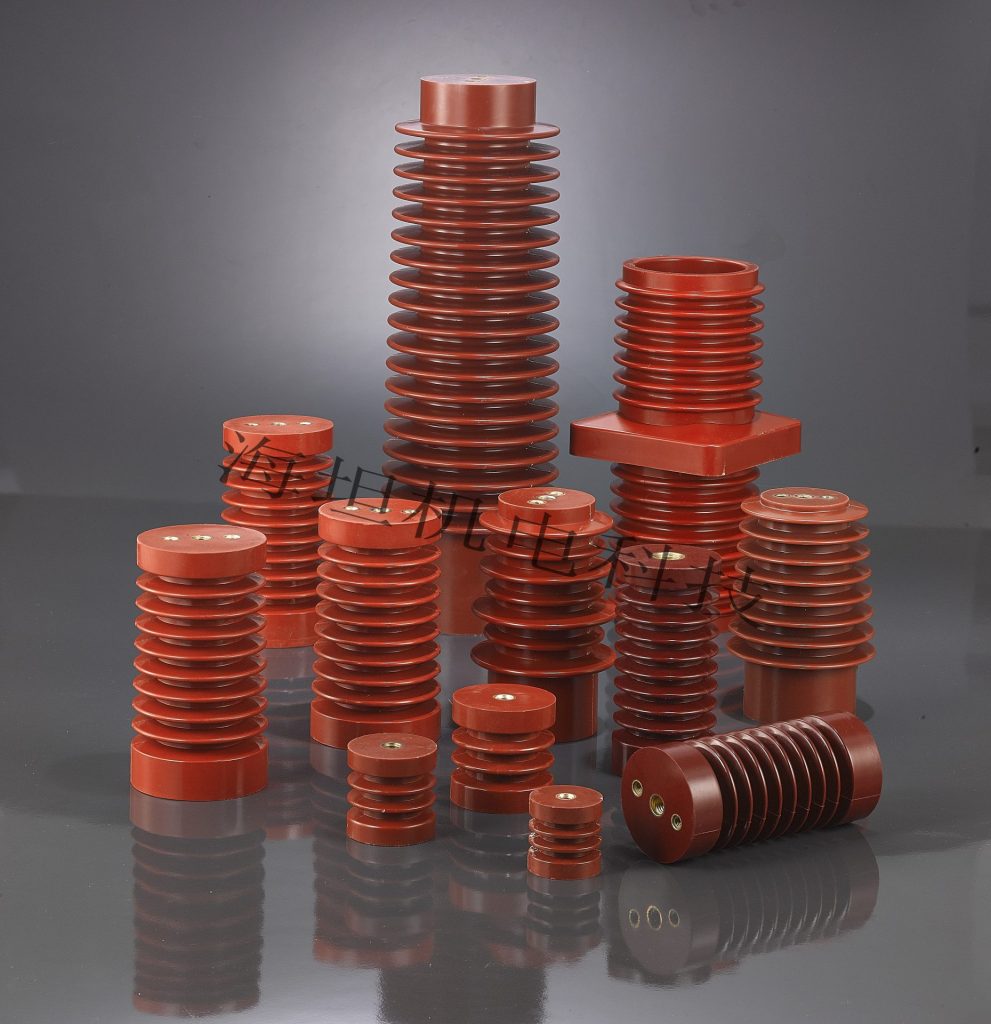
Hexagon busbar support insulators are widely used for this purpose. Made from durable insulating materials such as DMC (แป้งปั้นผสม) หรือ บีเอ็มซี, they provide both mechanical support and electrical insulation for busbars inside switchgear and distribution panels.
Proper installation is essential to ensure safety, stability, and long-term reliability. This guide explains the step-by-step installation process, tools required, and best practices for installing hexagon busbar support insulators in electrical panels.

Understanding Hexagon Busbar Support Insulators
Hexagon busbar support insulators are structural insulating components designed to mount busbars at a fixed height while maintaining electrical isolation from grounded structures.
Typical components include:
Hexagonal insulating body
Threaded metal inserts or studs
Mounting bolts or screws
Busbar fixing hardware
The hexagonal shape allows installers to tighten the insulator securely using standard wrenches, improving installation efficiency and preventing rotation during tightening.
Tools and Materials Required
Before starting the installation, prepare the necessary tools and materials.
Common tools include:
Adjustable wrench or spanner
Screwdriver or socket wrench
Torque wrench (recommended)
Measuring tape or caliper
Insulation gloves and safety equipment
Materials needed:
Hexagon busbar support insulators
Mounting bolts and washers
Copper or aluminum busbars
Panel mounting plates or brackets
Ensuring the correct tools and materials are available helps streamline the installation process.
Step-by-Step Installation Process
Verify Panel Layout and Mounting Points
Before installation, review the electrical panel design and confirm the mounting positions for the insulators. The spacing should meet electrical safety requirements for clearance and creepage distance between conductors.
Check that:
Mounting holes are properly aligned
Busbar spacing meets system specifications
The panel surface is clean and free of debris
Proper planning ensures accurate installation and prevents later adjustments.
Install the Insulator Base
Insert the mounting bolt through the panel mounting hole and secure the hexagon busbar support insulator to the panel frame or mounting plate.
Key points during this step:
Ensure the insulator is mounted vertically and firmly
Use washers if required to distribute load evenly
Tighten the bolt securely but avoid over-tightening
Because of the hexagonal body, the insulator can be easily tightened using a wrench.
Align and Position the Busbar
Once the insulators are mounted, carefully place the busbar on top of the support insulators.
Make sure that:
The busbar aligns with all mounting points
There is no mechanical stress on the insulators
Busbar holes match the threaded studs or bolts
Proper alignment ensures stable support and reduces mechanical strain.
Secure the Busbar
Attach the busbar to the insulator using appropriate bolts, nuts, and washers.
During this step:
Tighten the connections using a torque wrench if possible
Ensure uniform pressure across all mounting points
Avoid excessive torque that could damage the insulator
This step ensures the busbar remains securely fixed during operation.
Check Electrical Clearance and Stability
After installation, verify that the busbars maintain the required clearance and creepage distances from other conductive components and the panel enclosure.
Inspect for:
Proper spacing between phases
No contact with grounded structures
Stable mounting without movement
This step is essential to prevent electrical faults and ensure compliance with safety standards.
Best Practices for Installation
To achieve optimal performance and safety, follow these installation best practices:
Use the Correct Insulator Size
Select insulators with the appropriate height, thread size, and load capacity for the electrical system.
Maintain Proper Spacing
Ensure busbars are evenly spaced to prevent electrical tracking and overheating.
Avoid Mechanical Stress
Do not force busbars into position. Misalignment can cause unnecessary stress on insulators.
Follow Torque Specifications
Over-tightening may damage the insulating material or threaded inserts.
Perform Final Inspection
After installation, visually inspect the assembly to confirm stability and insulation integrity.
Common Installation Mistakes to Avoid
Several common mistakes can reduce the reliability of busbar support insulators:
Incorrect insulator height selection
Uneven tightening of mounting bolts
Improper busbar alignment
Insufficient electrical clearance
Over-tightening causing material damage
Avoiding these issues helps ensure a safer and longer-lasting installation.
Advantages of Hexagon Busbar Support Insulators
Hexagon busbar support insulators provide several benefits during installation and operation:
Easy installation with standard tools
Strong mechanical support for heavy busbars
High dielectric strength for reliable insulation
ทนความร้อนและเปลวไฟ
Long service life in industrial environments
These advantages make them widely used in switchgear, distribution panels, and industrial electrical cabinets.
บทสรุป
Proper installation of hexagon busbar support insulators is essential for maintaining safe and reliable electrical panel operation. By following correct installation procedures and best practices, engineers and technicians can ensure stable busbar support, adequate insulation, and compliance with electrical safety standards.
With their durable construction, strong mechanical performance, and easy installation, hexagon busbar support insulators remain an essential component in modern low-voltage electrical distribution systems.
คำถามที่พบบ่อย
1. What tools are needed to install hexagon busbar support insulators?
Installing hexagon busbar support insulators typically requires basic mechanical tools such as a wrench or spanner, socket wrench, screwdriver, and measuring tape. A torque wrench is also recommended to ensure bolts are tightened according to the correct specifications. Additionally, installers should wear insulated gloves and safety equipment when working inside electrical panels.
2. How do you determine the correct position for busbar support insulators?
The position of busbar support insulators should follow the electrical panel layout design and comply with safety requirements for clearance and creepage distances. Insulators should be evenly spaced along the busbar to provide sufficient mechanical support and prevent bending or vibration during operation.
3. What materials are hexagon busbar support insulators usually made from?
Most hexagon busbar support insulators are made from DMC (แป้งปั้นผสม) หรือ BMC composite materials. These materials offer excellent electrical insulation, high mechanical strength, and good resistance to heat, moisture, and flame, making them suitable for use in switchgear and distribution panels.
4. How tight should the mounting bolts be during installation?
Mounting bolts should be tightened firmly but not excessively. Over-tightening can damage the insulating body or the embedded threaded inserts. Using a torque wrench helps ensure the bolts are tightened within the recommended torque range while maintaining secure installation.
5. Why is proper busbar alignment important during installation?
Correct alignment ensures that the mechanical load is evenly distributed across all support insulators. Misalignment may create stress on the insulator body, potentially leading to mechanical damage or instability. Proper alignment also helps maintain the required electrical clearance between conductors.
6. What safety checks should be performed after installation?
After installation, technicians should perform several safety checks, including:
Confirming that busbars are securely mounted
Verifying proper clearance between conductive components
Ensuring insulators are firmly tightened and stable
Checking that no conductors touch the panel enclosure
These inspections help ensure the electrical system operates safely and reliably.
7. Can hexagon busbar support insulators be reused after removal?
In most cases, busbar support insulators can be reused if they show no signs of damage, such as cracks, deformation, or worn threads. However, if the insulator has experienced excessive mechanical stress or high temperatures, replacing it is recommended to maintain system safety.
--- จบ ---
 อีเมล์: [email protected]
  เลขที่ 20 ถนนหลิงหยุน ตงเฟิง
เขตอุตสาหกรรม เมือง Liushi เมือง Yueqing
เมือง มณฑลเจ้อเจียง


วีแชท
© ลิขสิทธิ์ 2024 China Haitan Electromechanical Technology Co., Ltd. สงวนลิขสิทธิ์สนับสนุนโดย:มิถุนายน นโยบายความเป็นส่วนตัว